Treasure
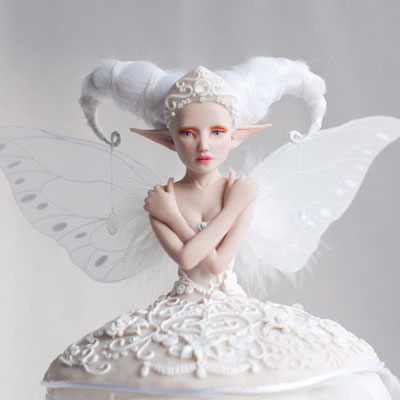
It has been quite a while since I've started this fairy, but last week I finished the last thingies, so here are the step by step pictures of the work in progress.
Here's the first part of this article where I show the step by step pictures: www.kathleenengelen.com/new-project/
Here I'm drilling a hole in her head with my Dremel. A horific scene, but you'll see, it will all be ok and in a second you'll get why I'm doing this... :-)
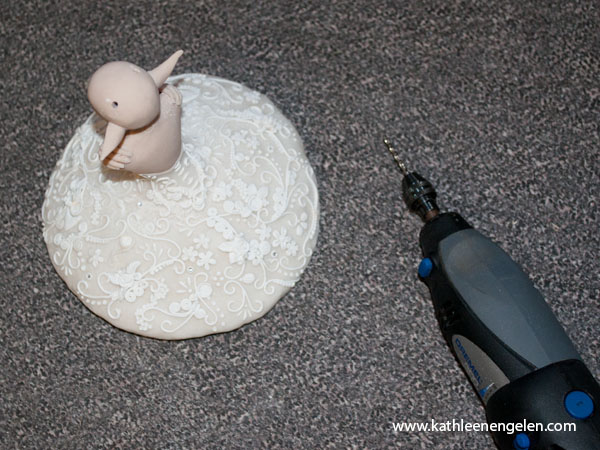
Some metal wire goes into the hole, and a layer of clay is added. This will be the base for her hairstyle...
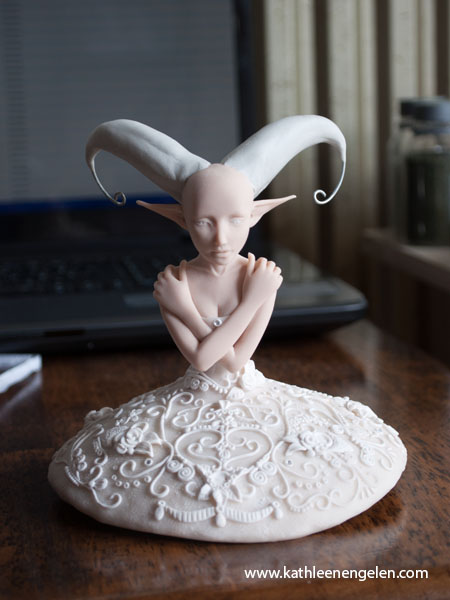
The hair is glued on the base...
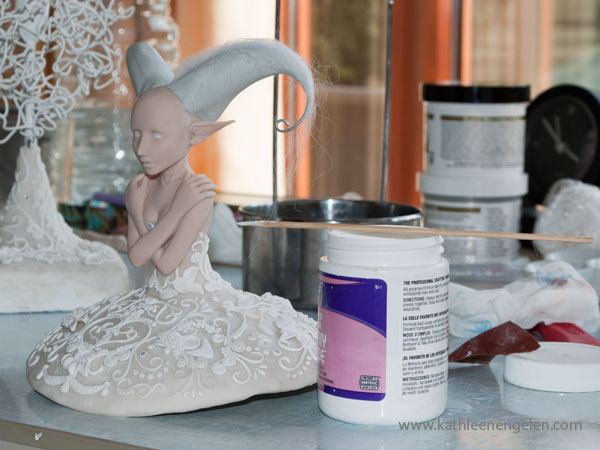
Another step further, the hair is glued and finished with a ribbon...
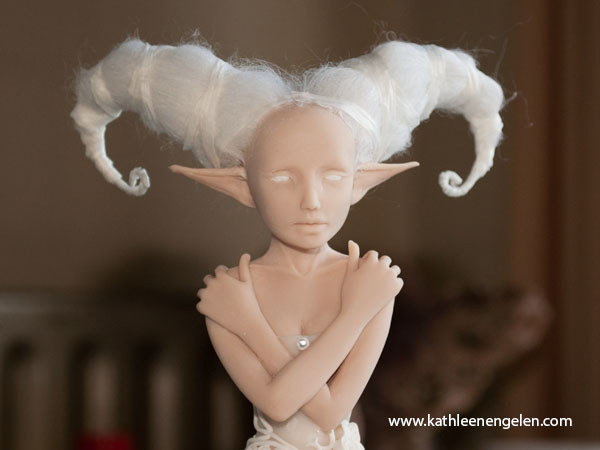
The crown on her head is sculpted and her face is painted. I made a video on how I paint the face, but my camera broke and the sound is gone. So, that will be for another time... ;-)
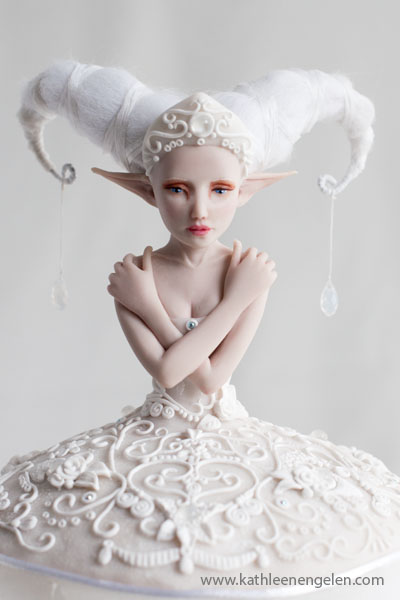
The first version of the "skirt". I didn't like it, so I changed it. Things don't always work out the way you want...
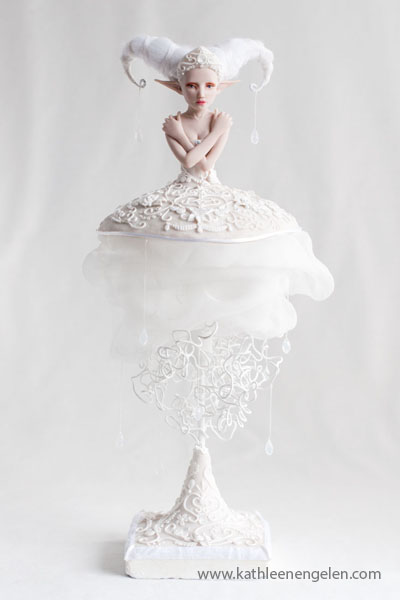
Eight Swarovski drops like this have been used in this sculpture.
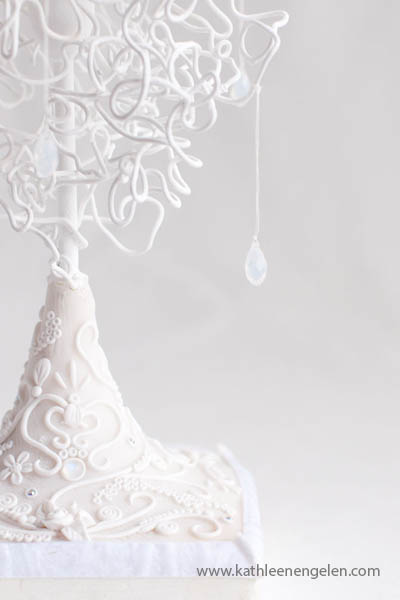
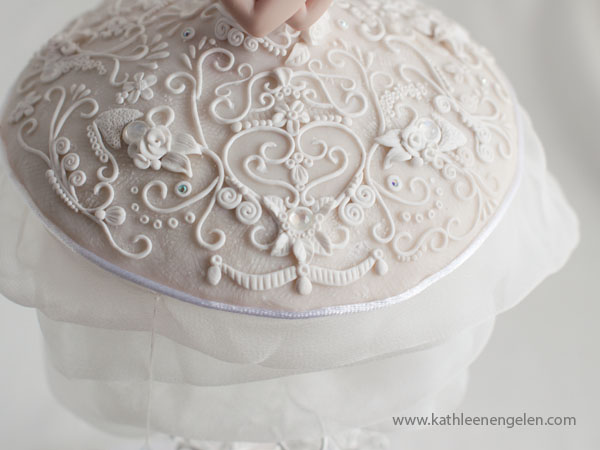
And ten moonstones, my favourite semi precious stones. They have a beautiful blue glow. The tiny rhinestones are Swarovski stones, fifteen of these stones have been used in total. And now you immediately understand why she's called "Treasure".
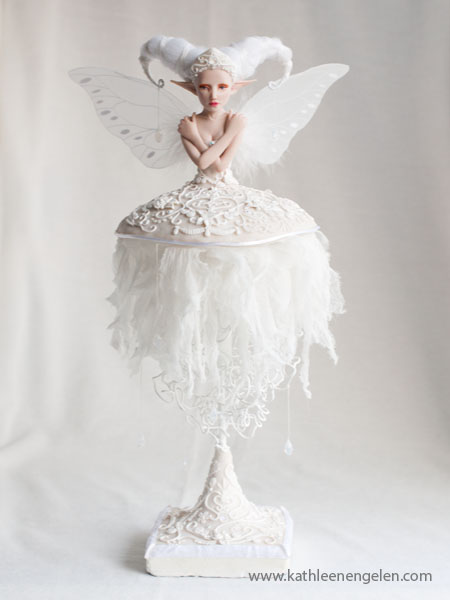
Ta daa... Here she is...
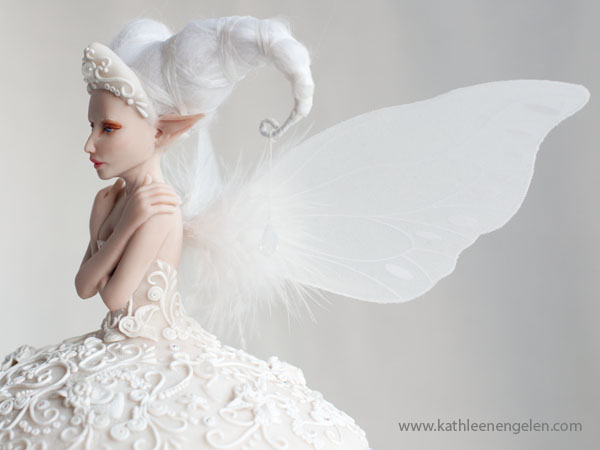
Detail of the wings
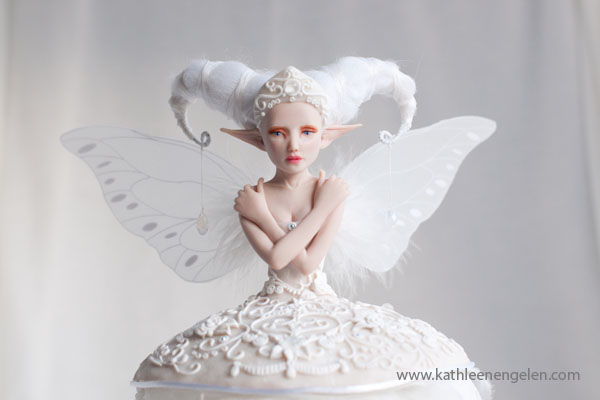
Detail of the front
Greetings and see you next time
Kathleen xx